Building something from scratch is amazingly satisfying — both in terms of the money saved and the satisfaction from completing a project with your own bare hands. This rings even more true in today’s world of new, expensive shiny must-haves. Everyone is in a hurry, and most people want things right now.
Not this couple from the US though. They found a vintage 1965 Serro Scotty Sportsman camper and decided to do a little light renovation — and by light we mean heavy of course. Enough to knock the socks off any carpenter.
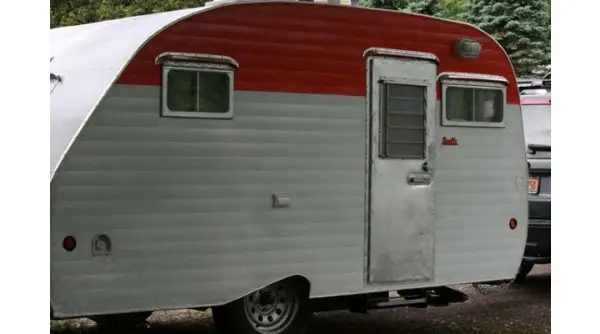
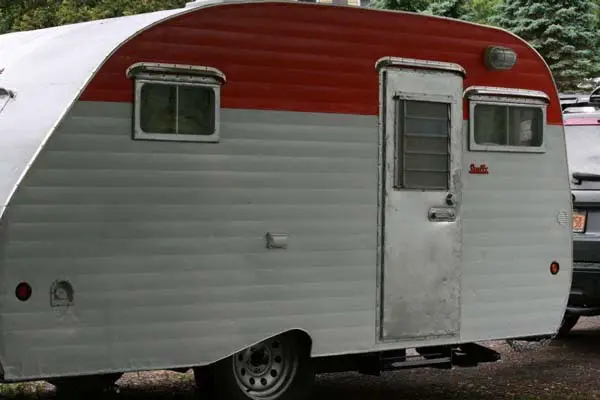
This unassuming exterior belies the work it took to get here, as well the amazing interior.
This $650 trailer was as cheap as chips.
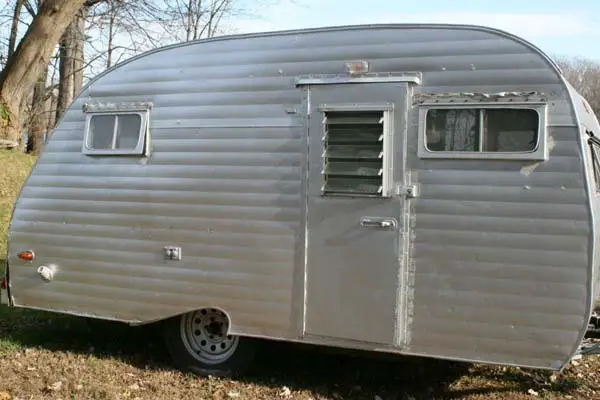
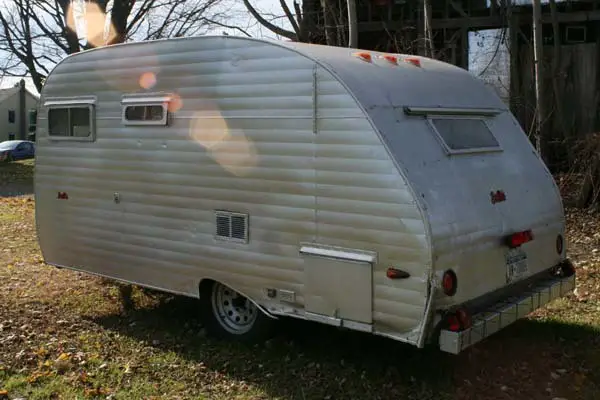
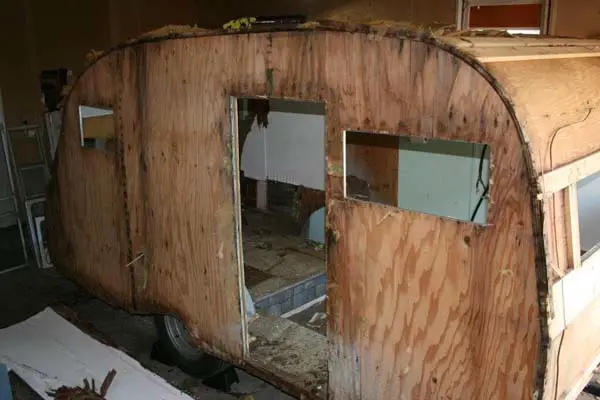
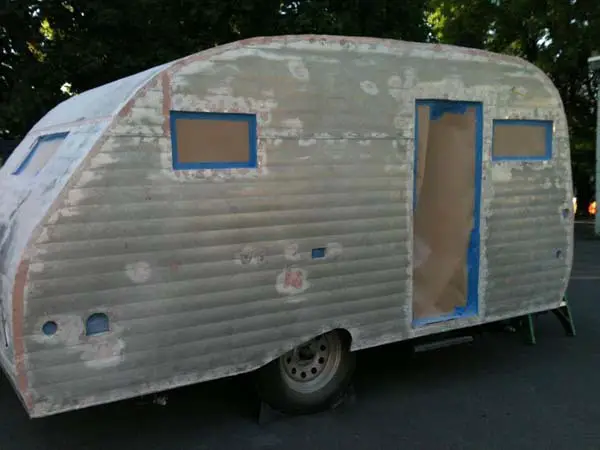
Truth be told, it looked fit for a rubbish dump.
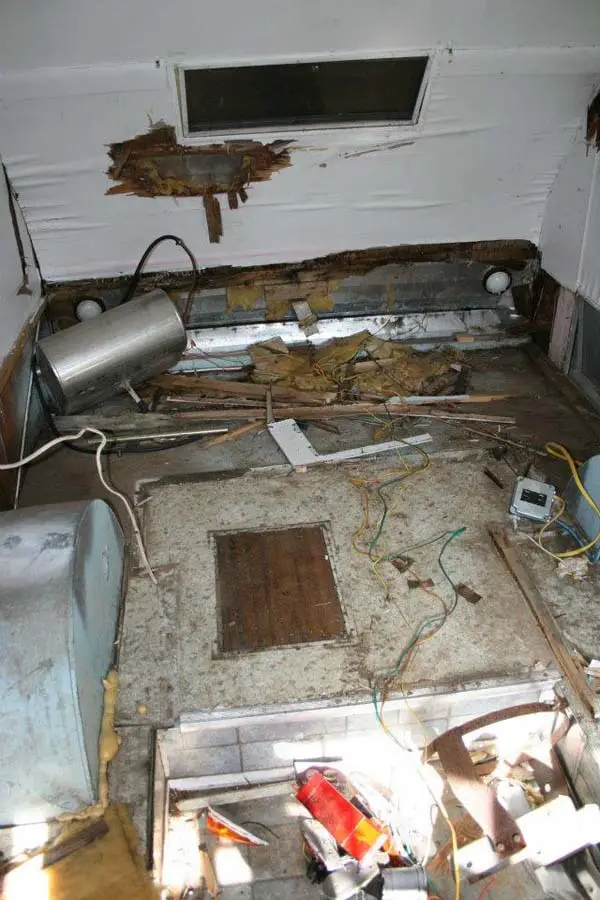
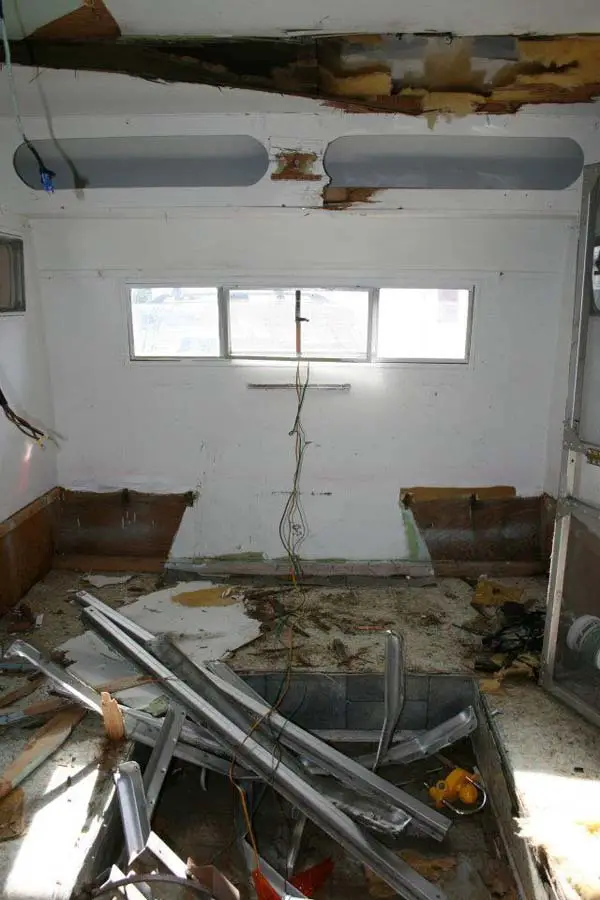
First, the aluminium siding was removed.
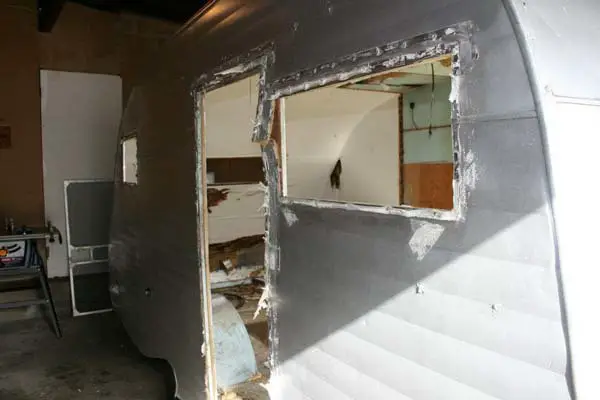
Then, the pain was stripped.
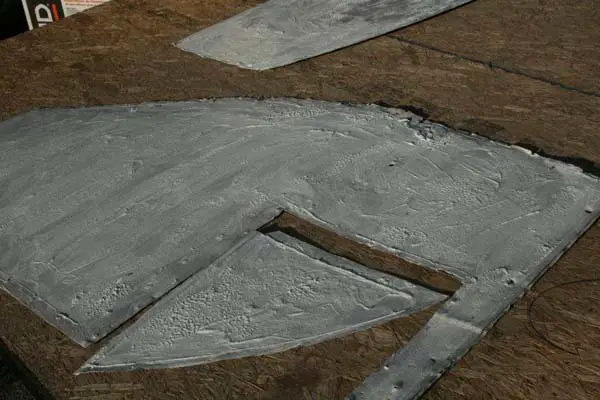
Behold the water damage. It needed replacing…
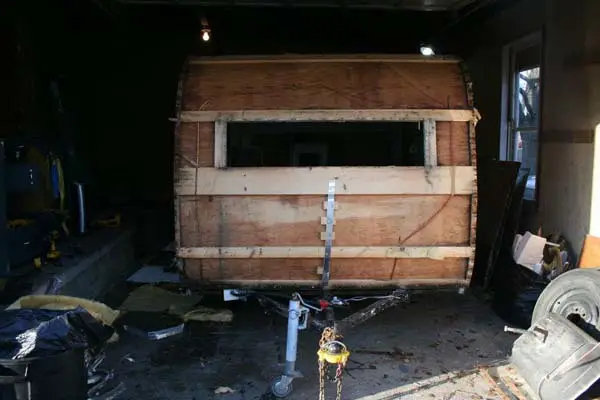
…So they got rid of all of it!
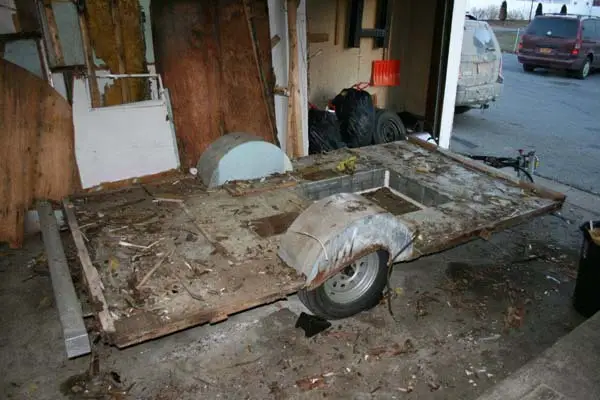
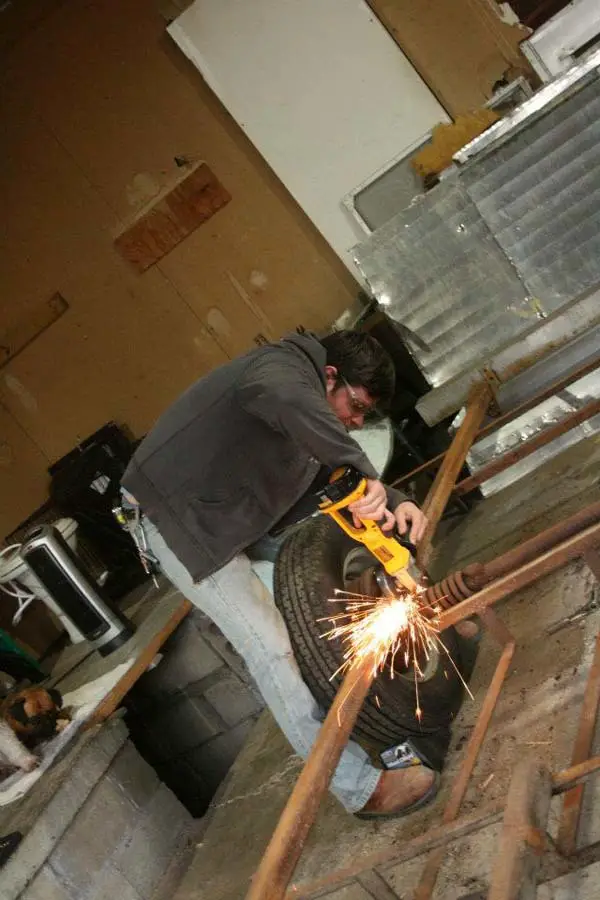
Even the floor was removed, to allow prepping of the frame.
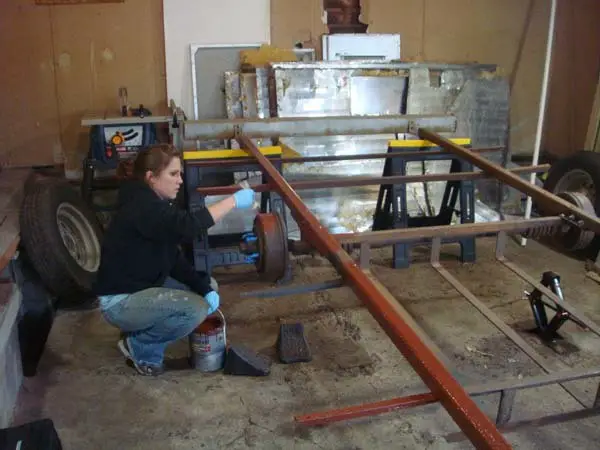
And priming.
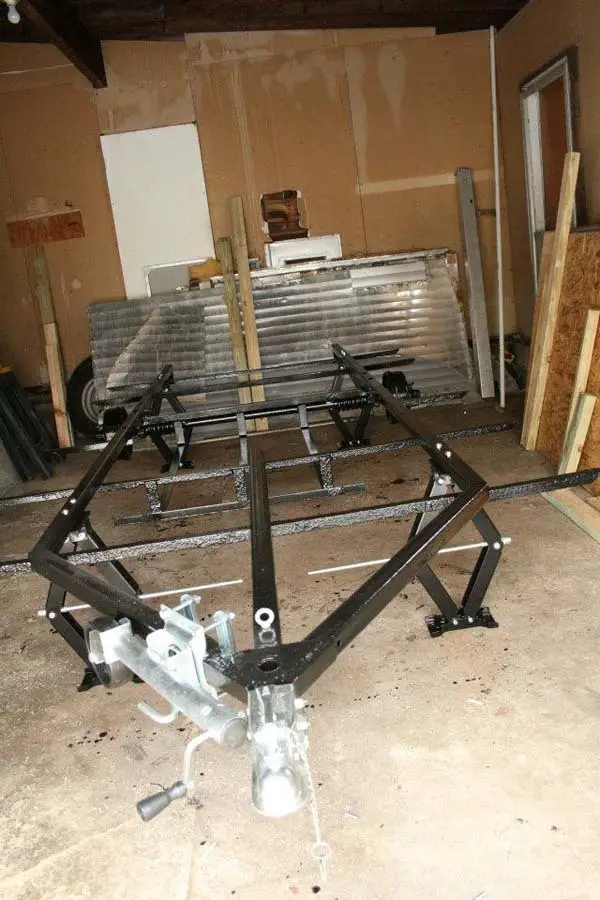
That is one good-looking frame.
A new floor was added.
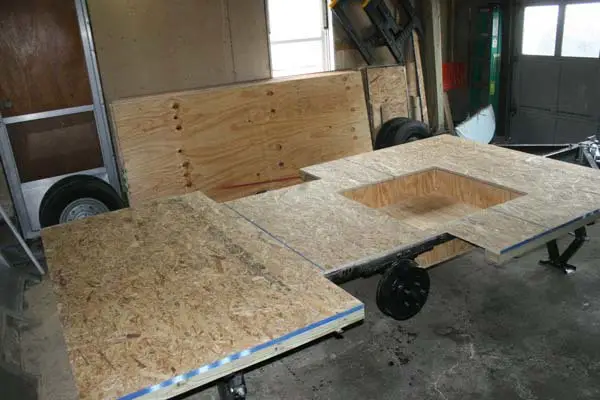
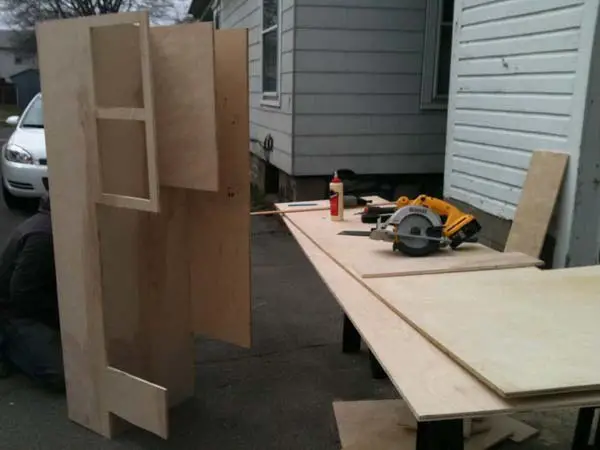
A new wall…
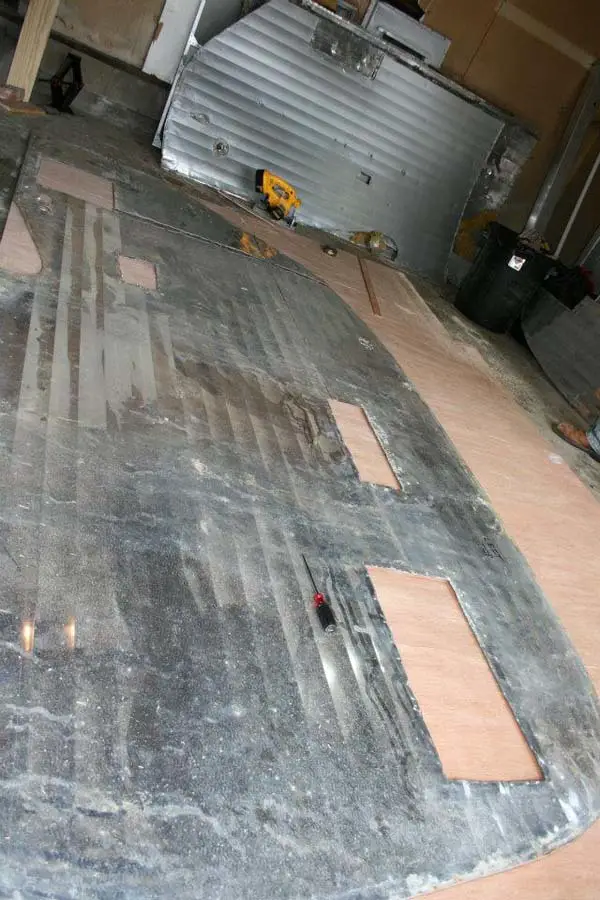
Ta-da!
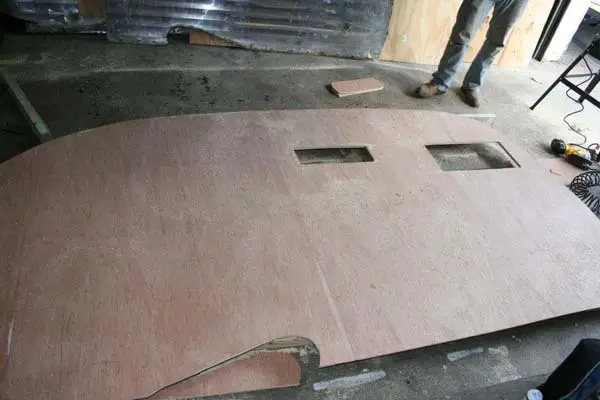
The walls were set up and appliances placed for measurements.
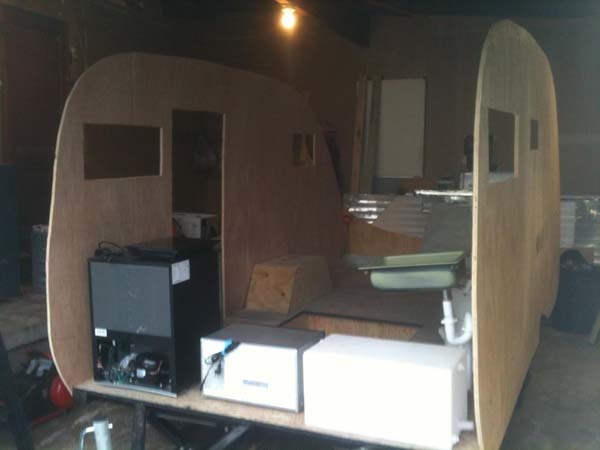
The fun bit: Building the interior.
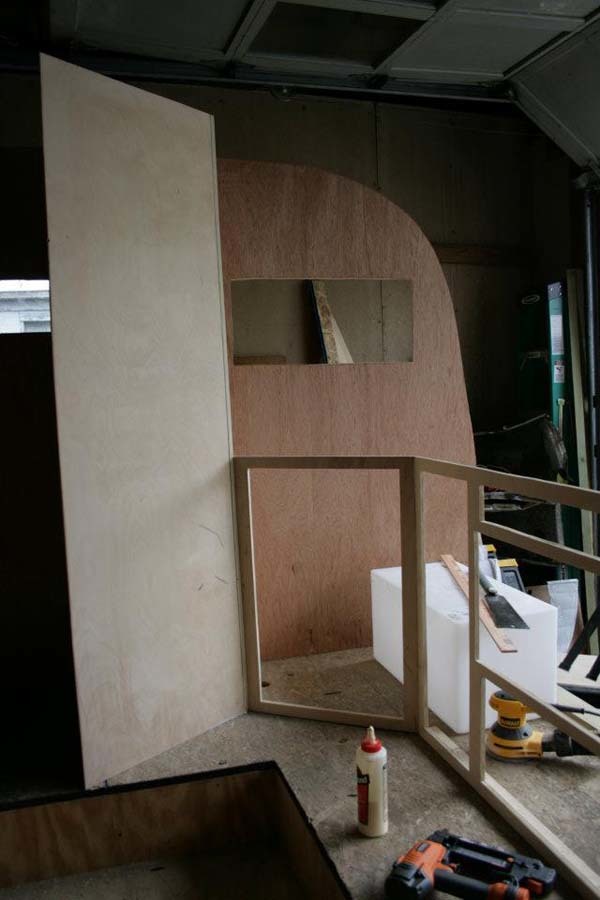
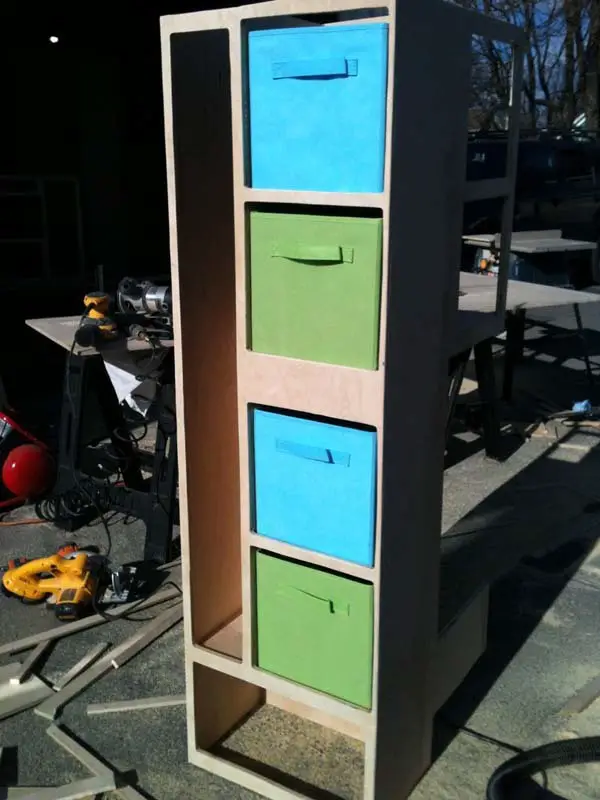
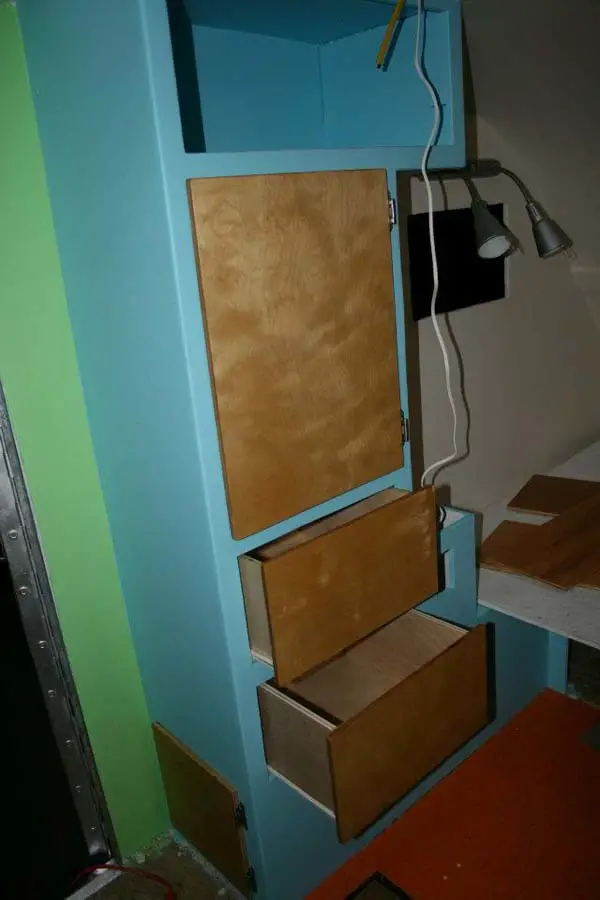
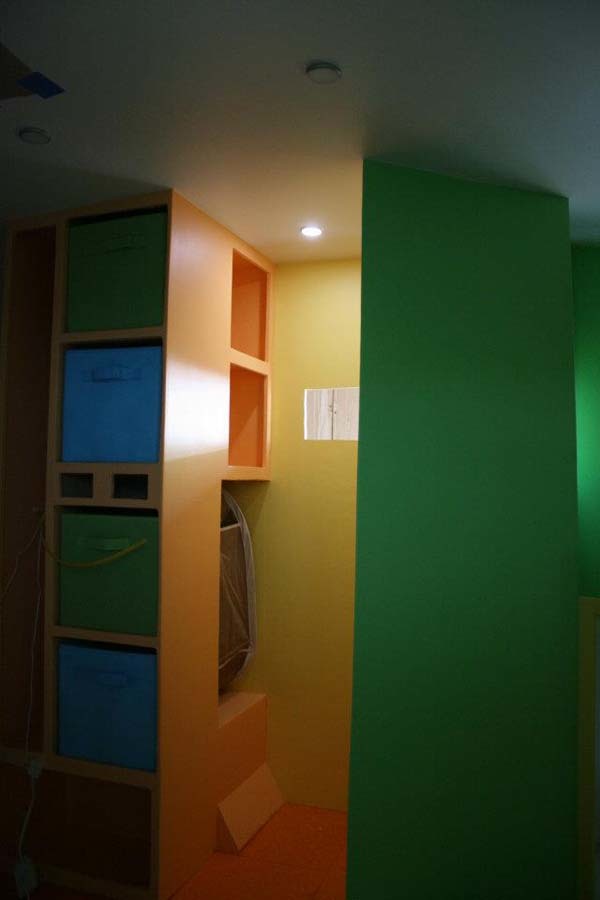
Adequate storage space is very important.
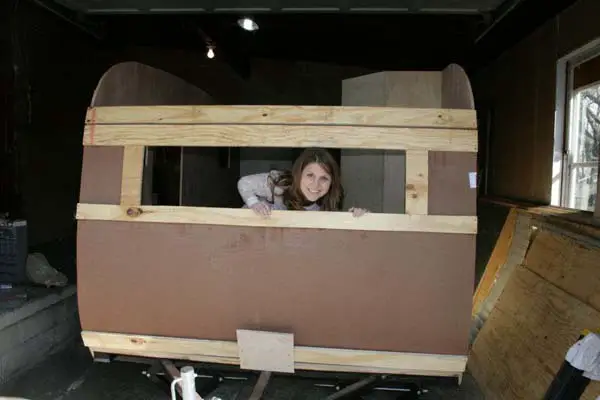
One front wall and one smiling girlfriend.
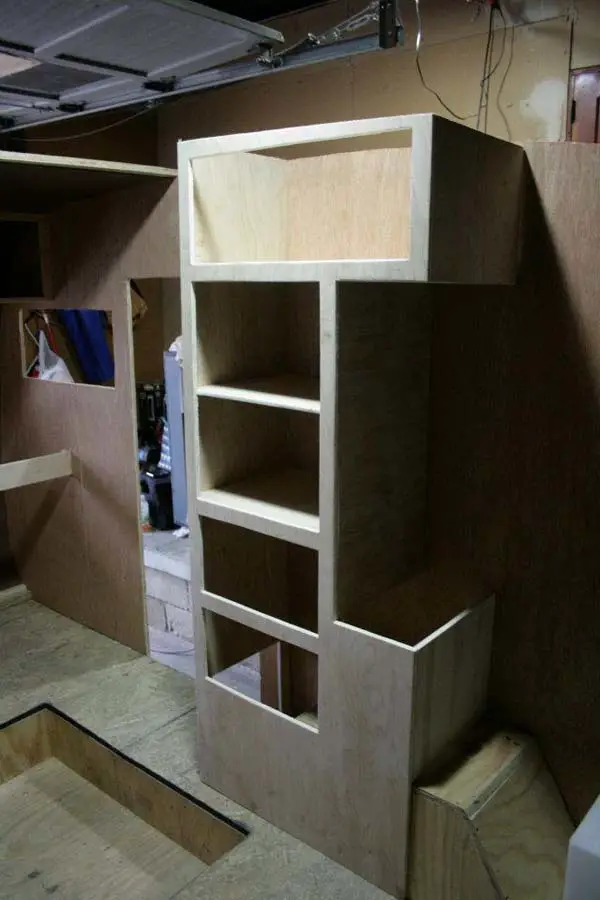
The cabinets were added…
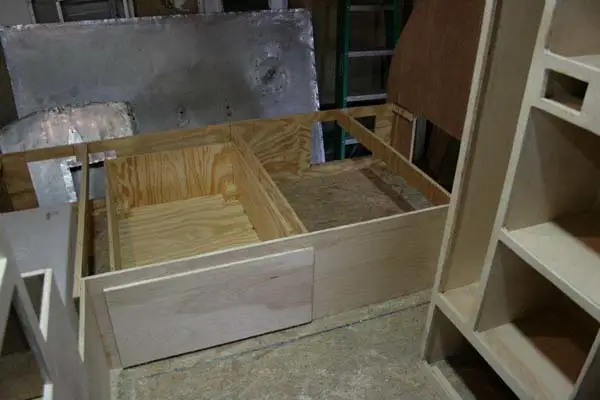
Not forgetting space for the water tank, cargo, etc.
A ceiling fan was added for surviving those summer months.
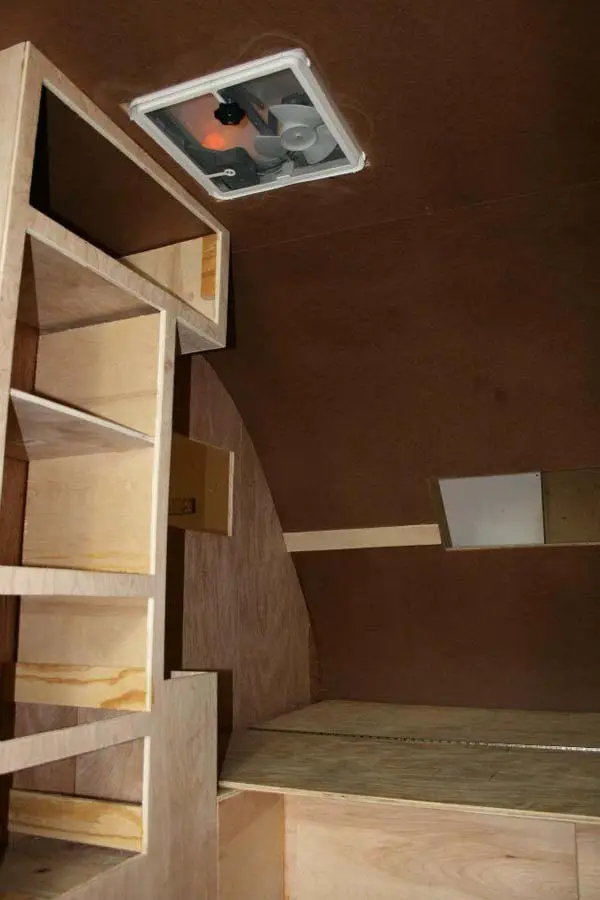
Prime time again.
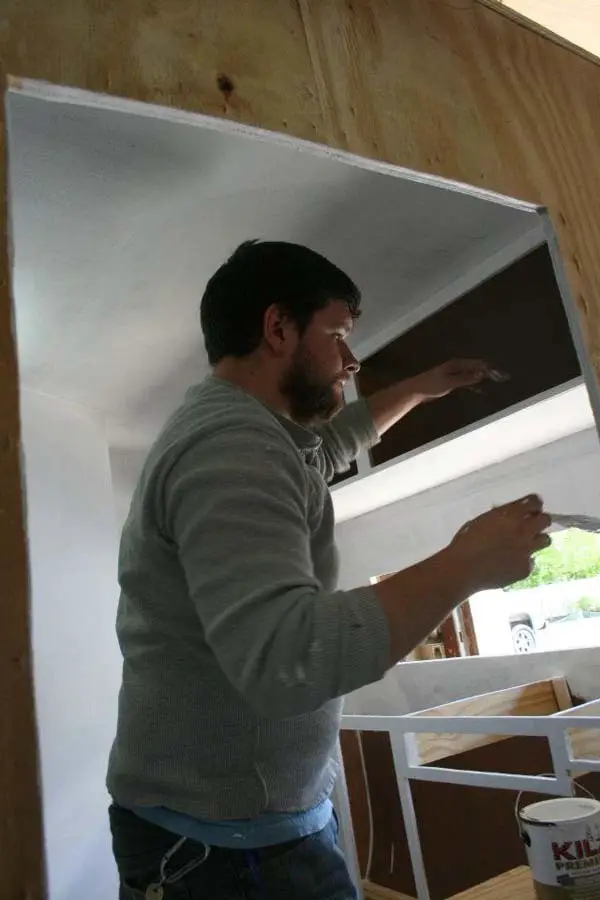
We love this groovy multi-colored interior.
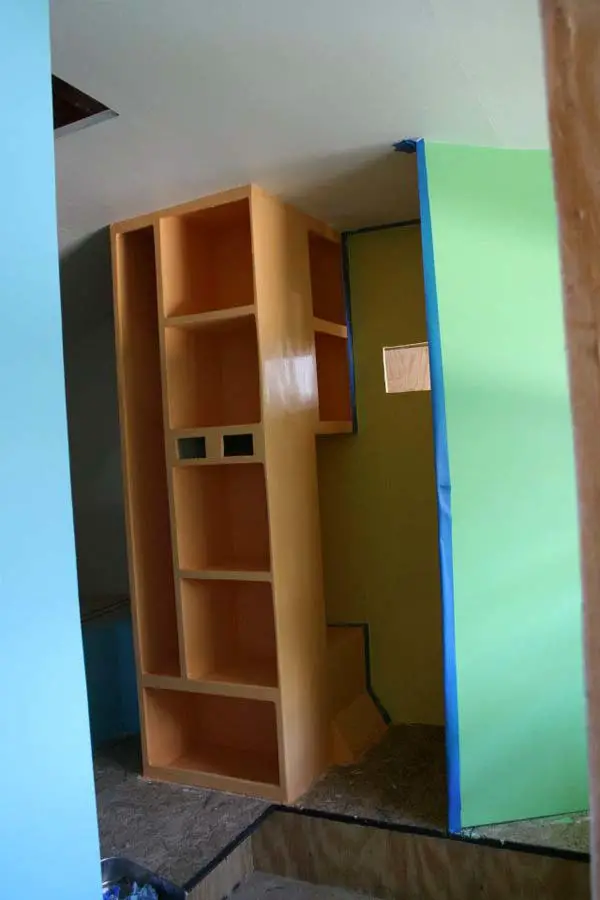
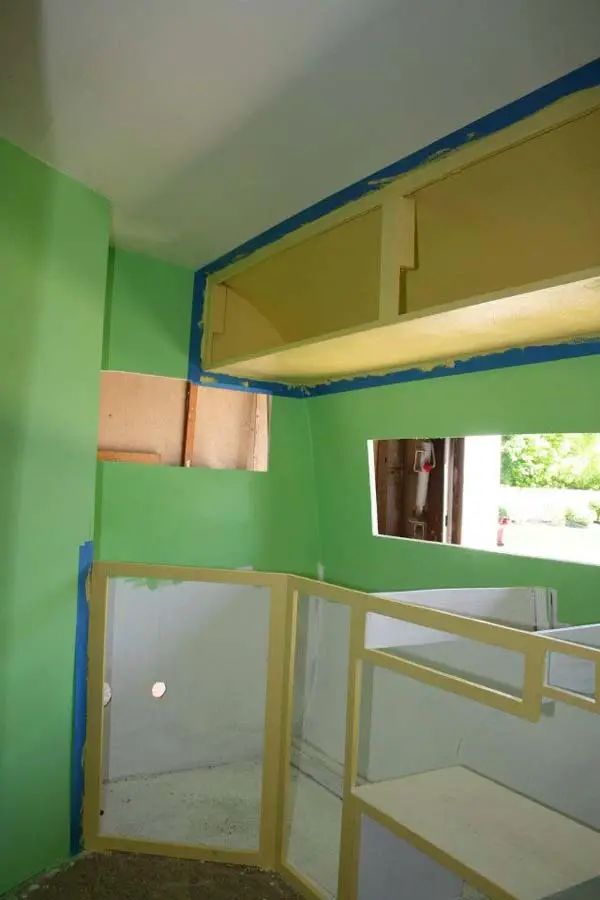
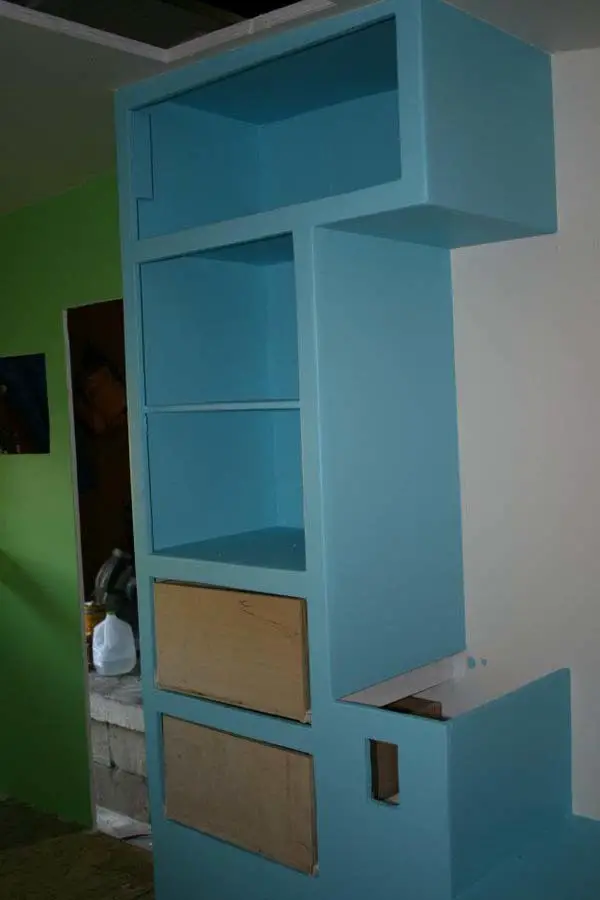
Insulation makes this a four-seasons camper van.
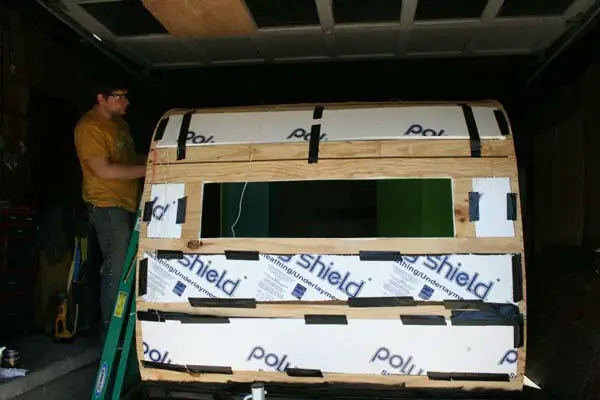
Finally! The aluminium sides are installed.
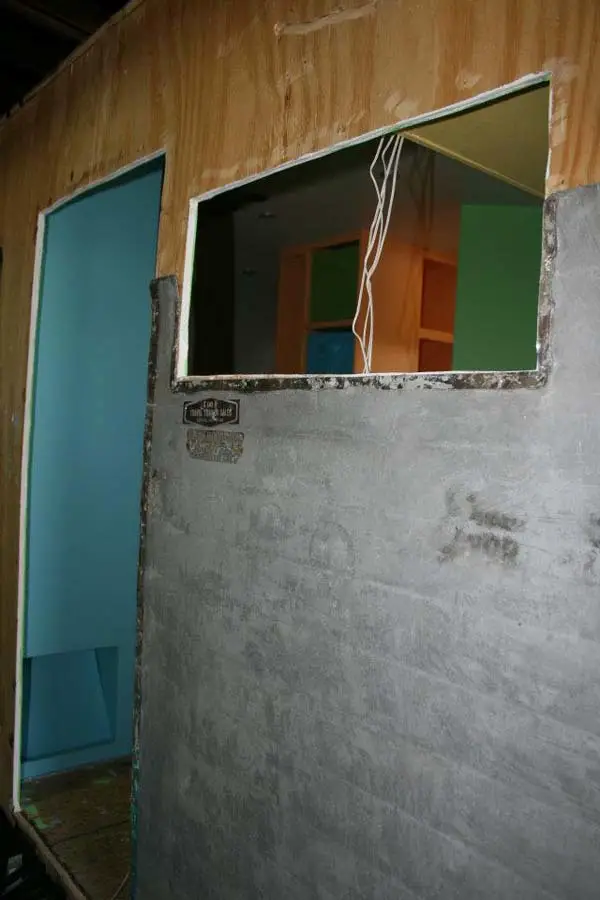
Almost there! Masking and painting the window frames.
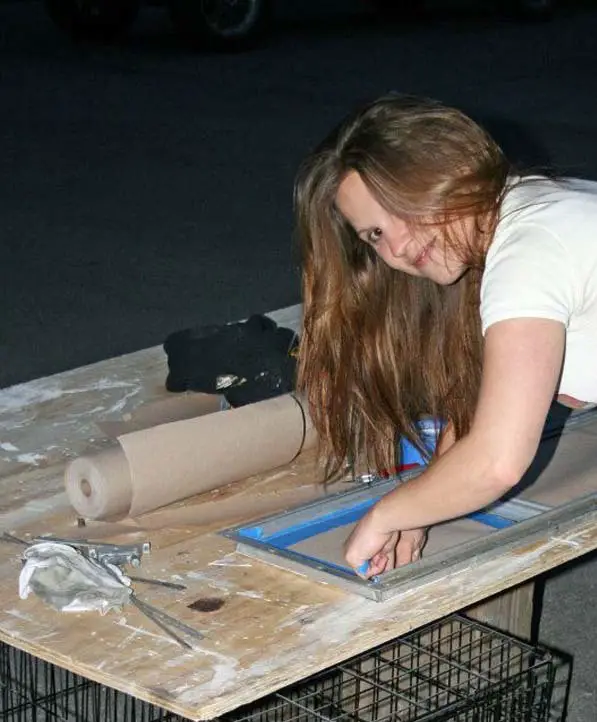
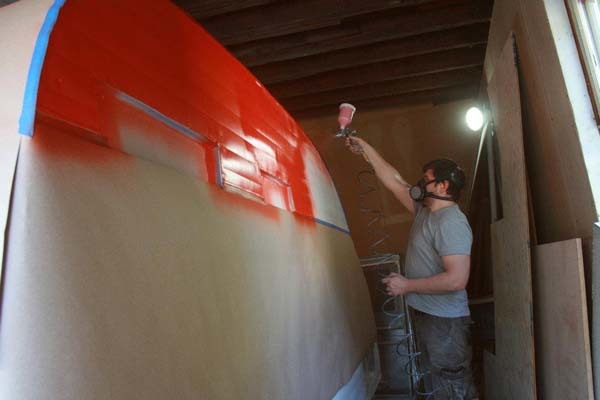
The paint job awaits.
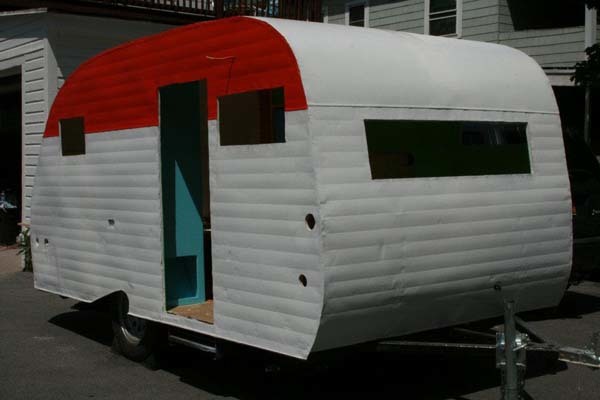
Where would a retro camper van be without an orange stripe?
Officially awesome.
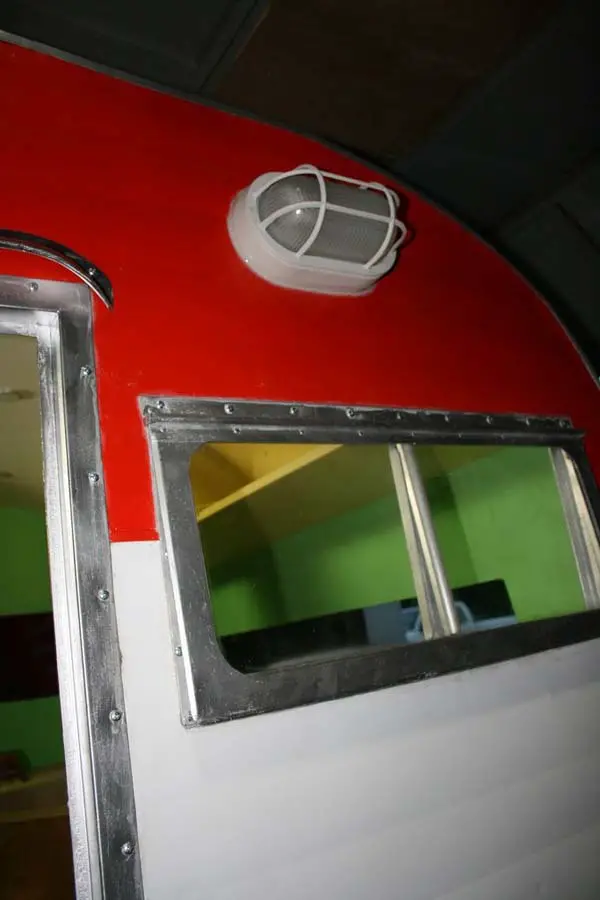
A new door, windows and external light was added.
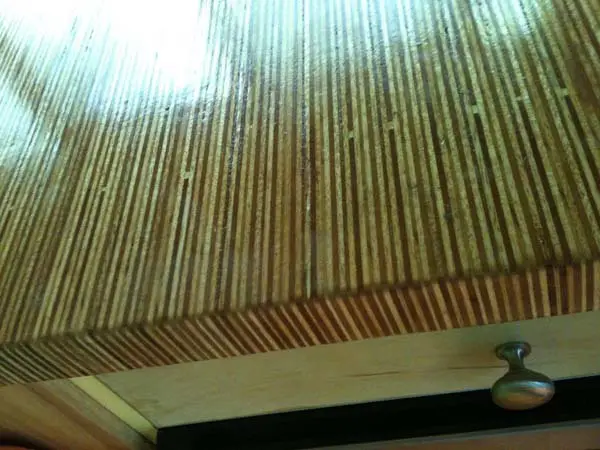
These lovely countertops were made by gluing strips of wood, sanding and sealing.
Finishing jobbies.
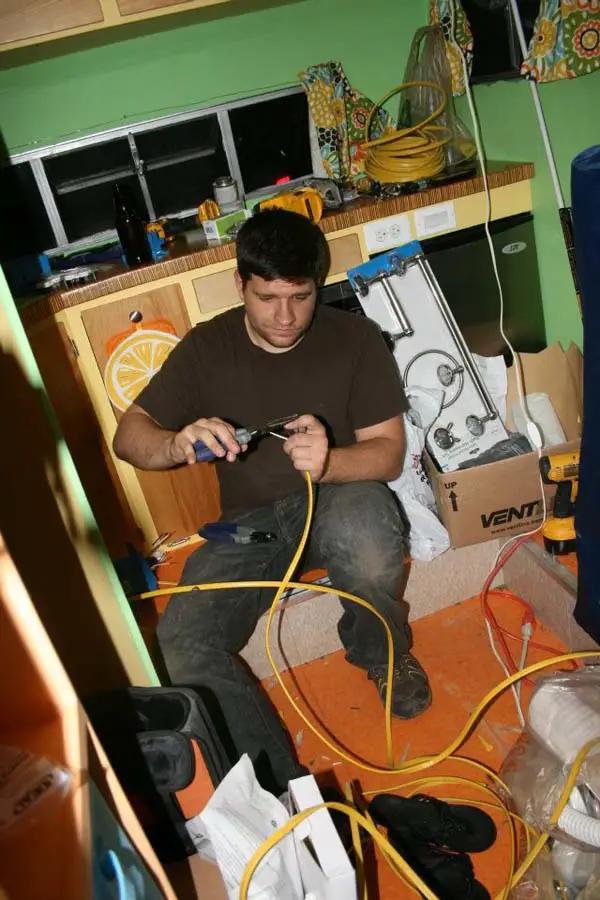
Running electrical wires (all 110v AC).
Phew! The LED lights work.
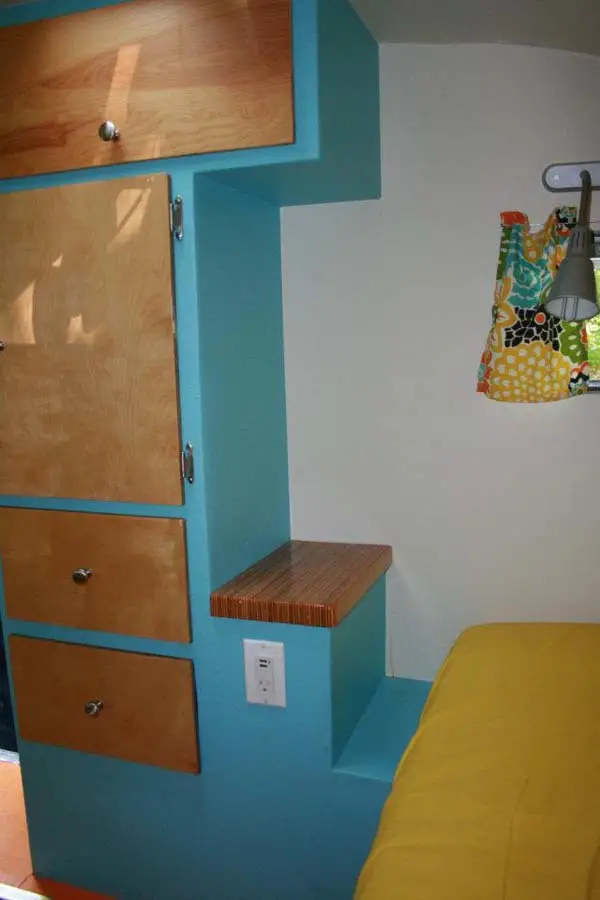
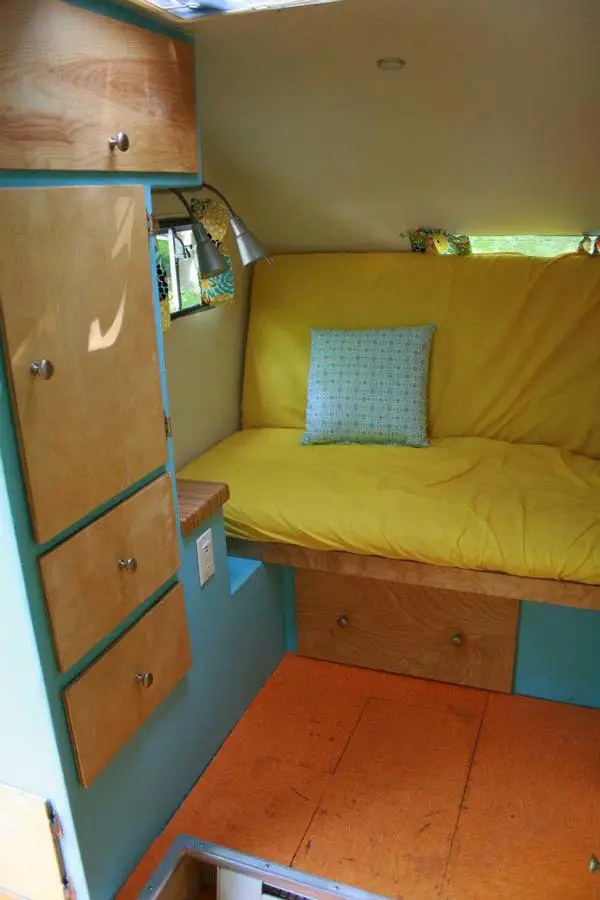
This is truly a labour of love.
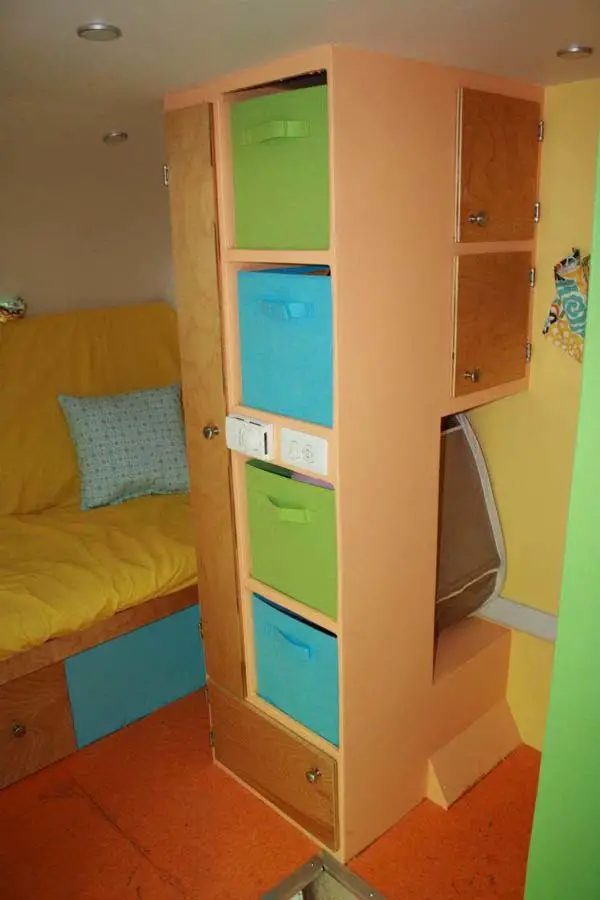
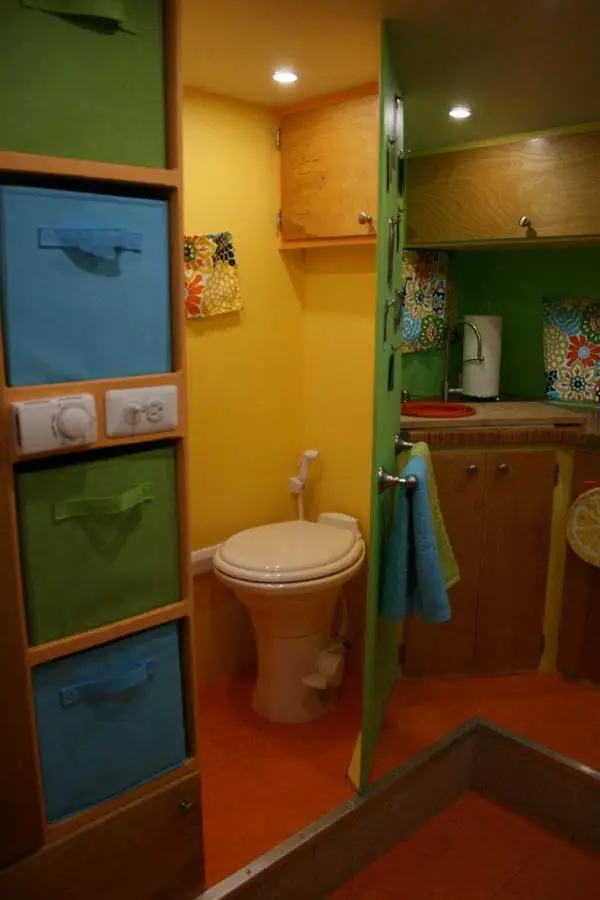
Not to mention a labour of sweat and time…
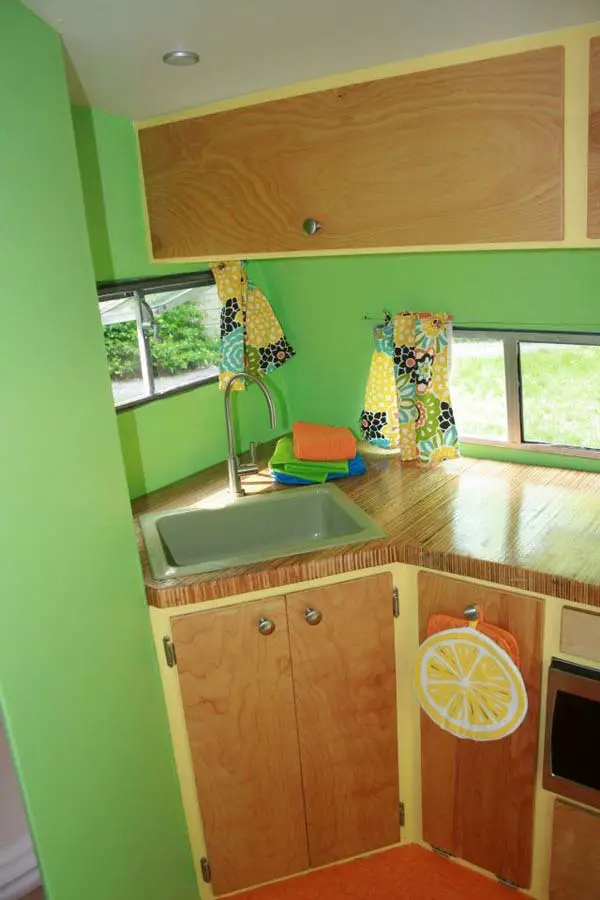
…But well worth it.
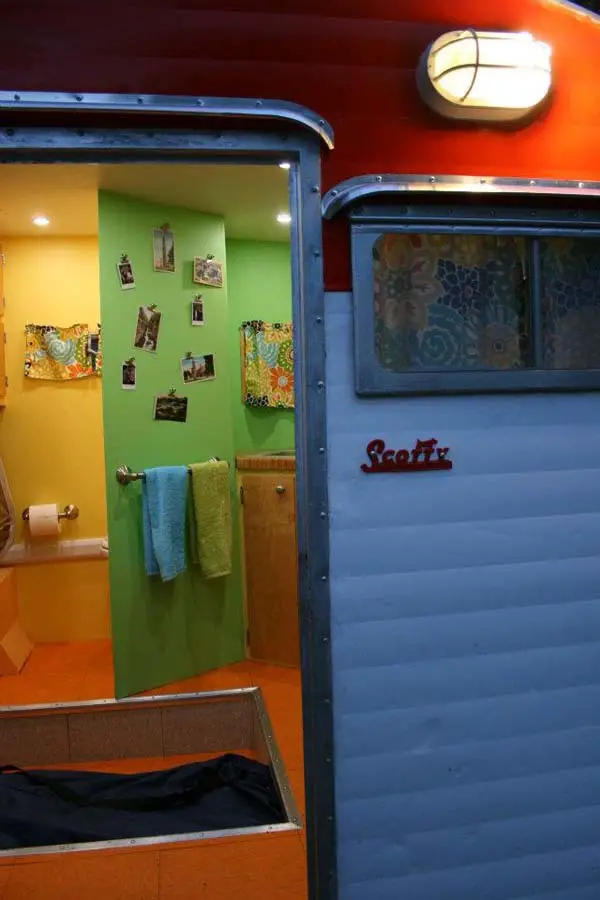
I don’t know about you, but I’m off to the local dump to find something old and turn it into something unique, awesome and functional… See you later!

